OVERVIEW:
I have been very busy for the last two months. But for now, I have more time to blog and do electronics projects. In this article, I’m going to fabricate a touch sensor that huge companies use for their phones. Although this “touch sensor” doesn’t work exactly like an iPhone touch screen, it partially represents a capacitive touch sensor of most of the phones nowadays.
PARTS:
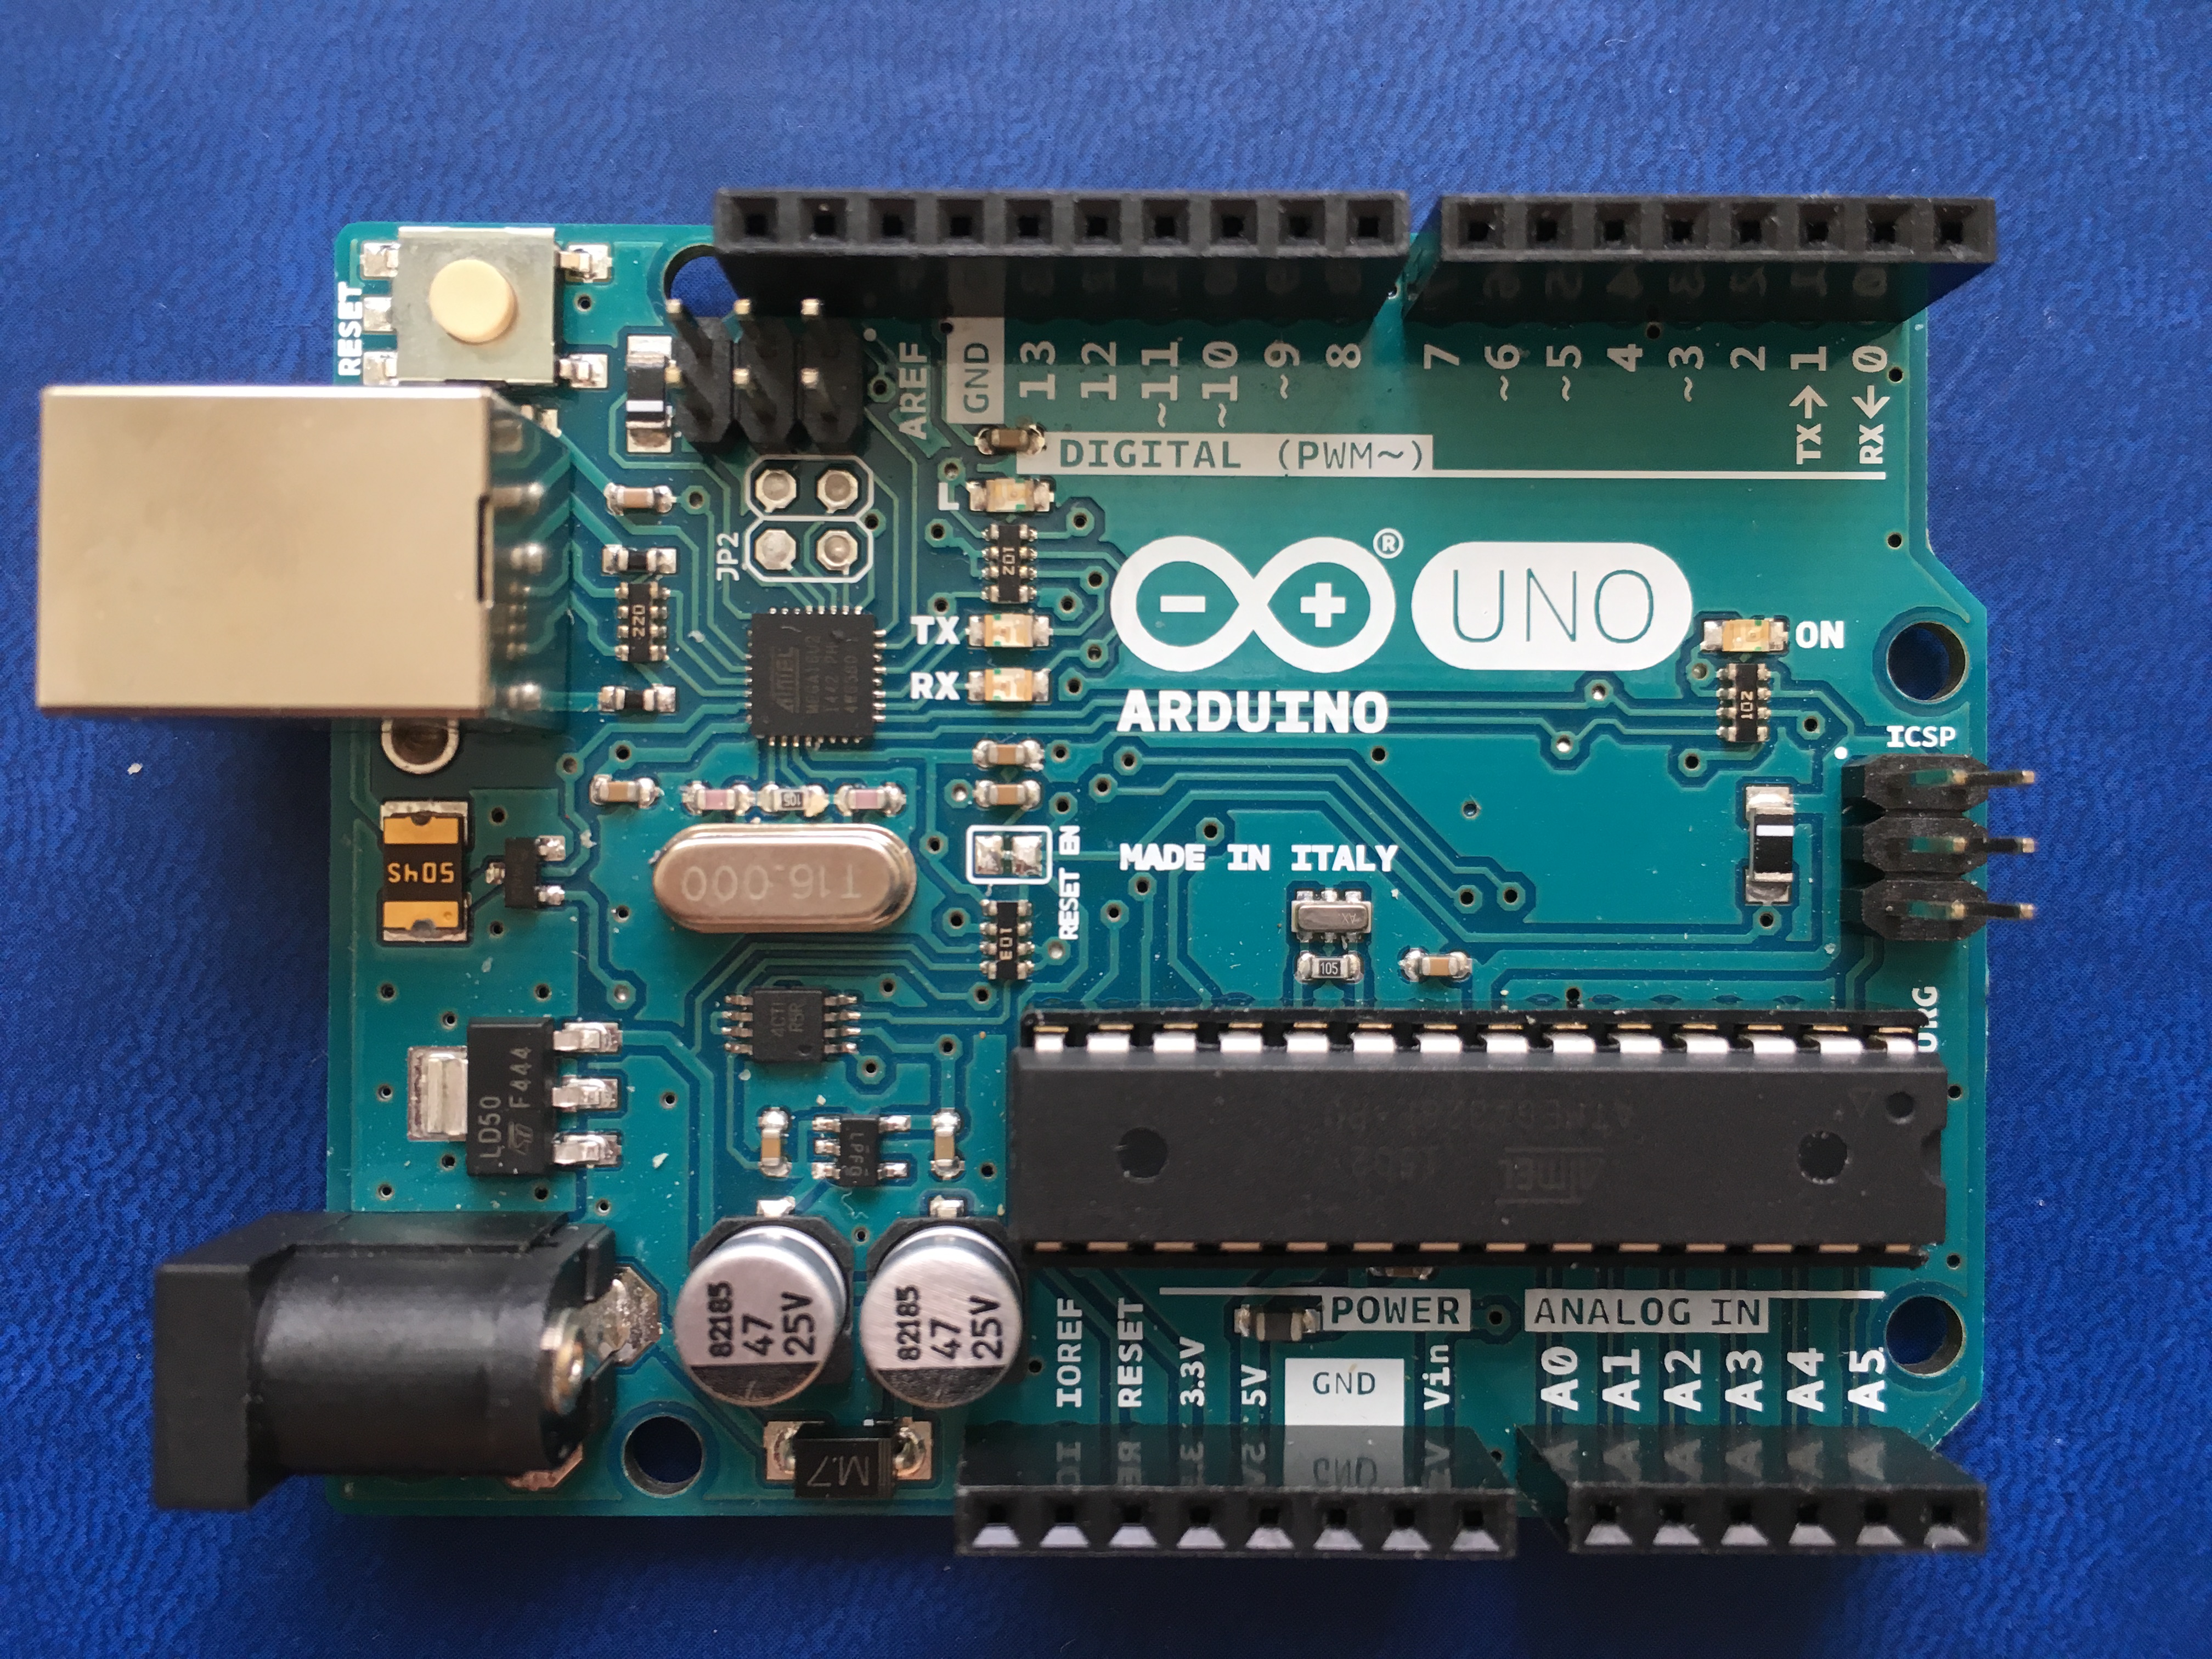
- 1 x Arduino UNO
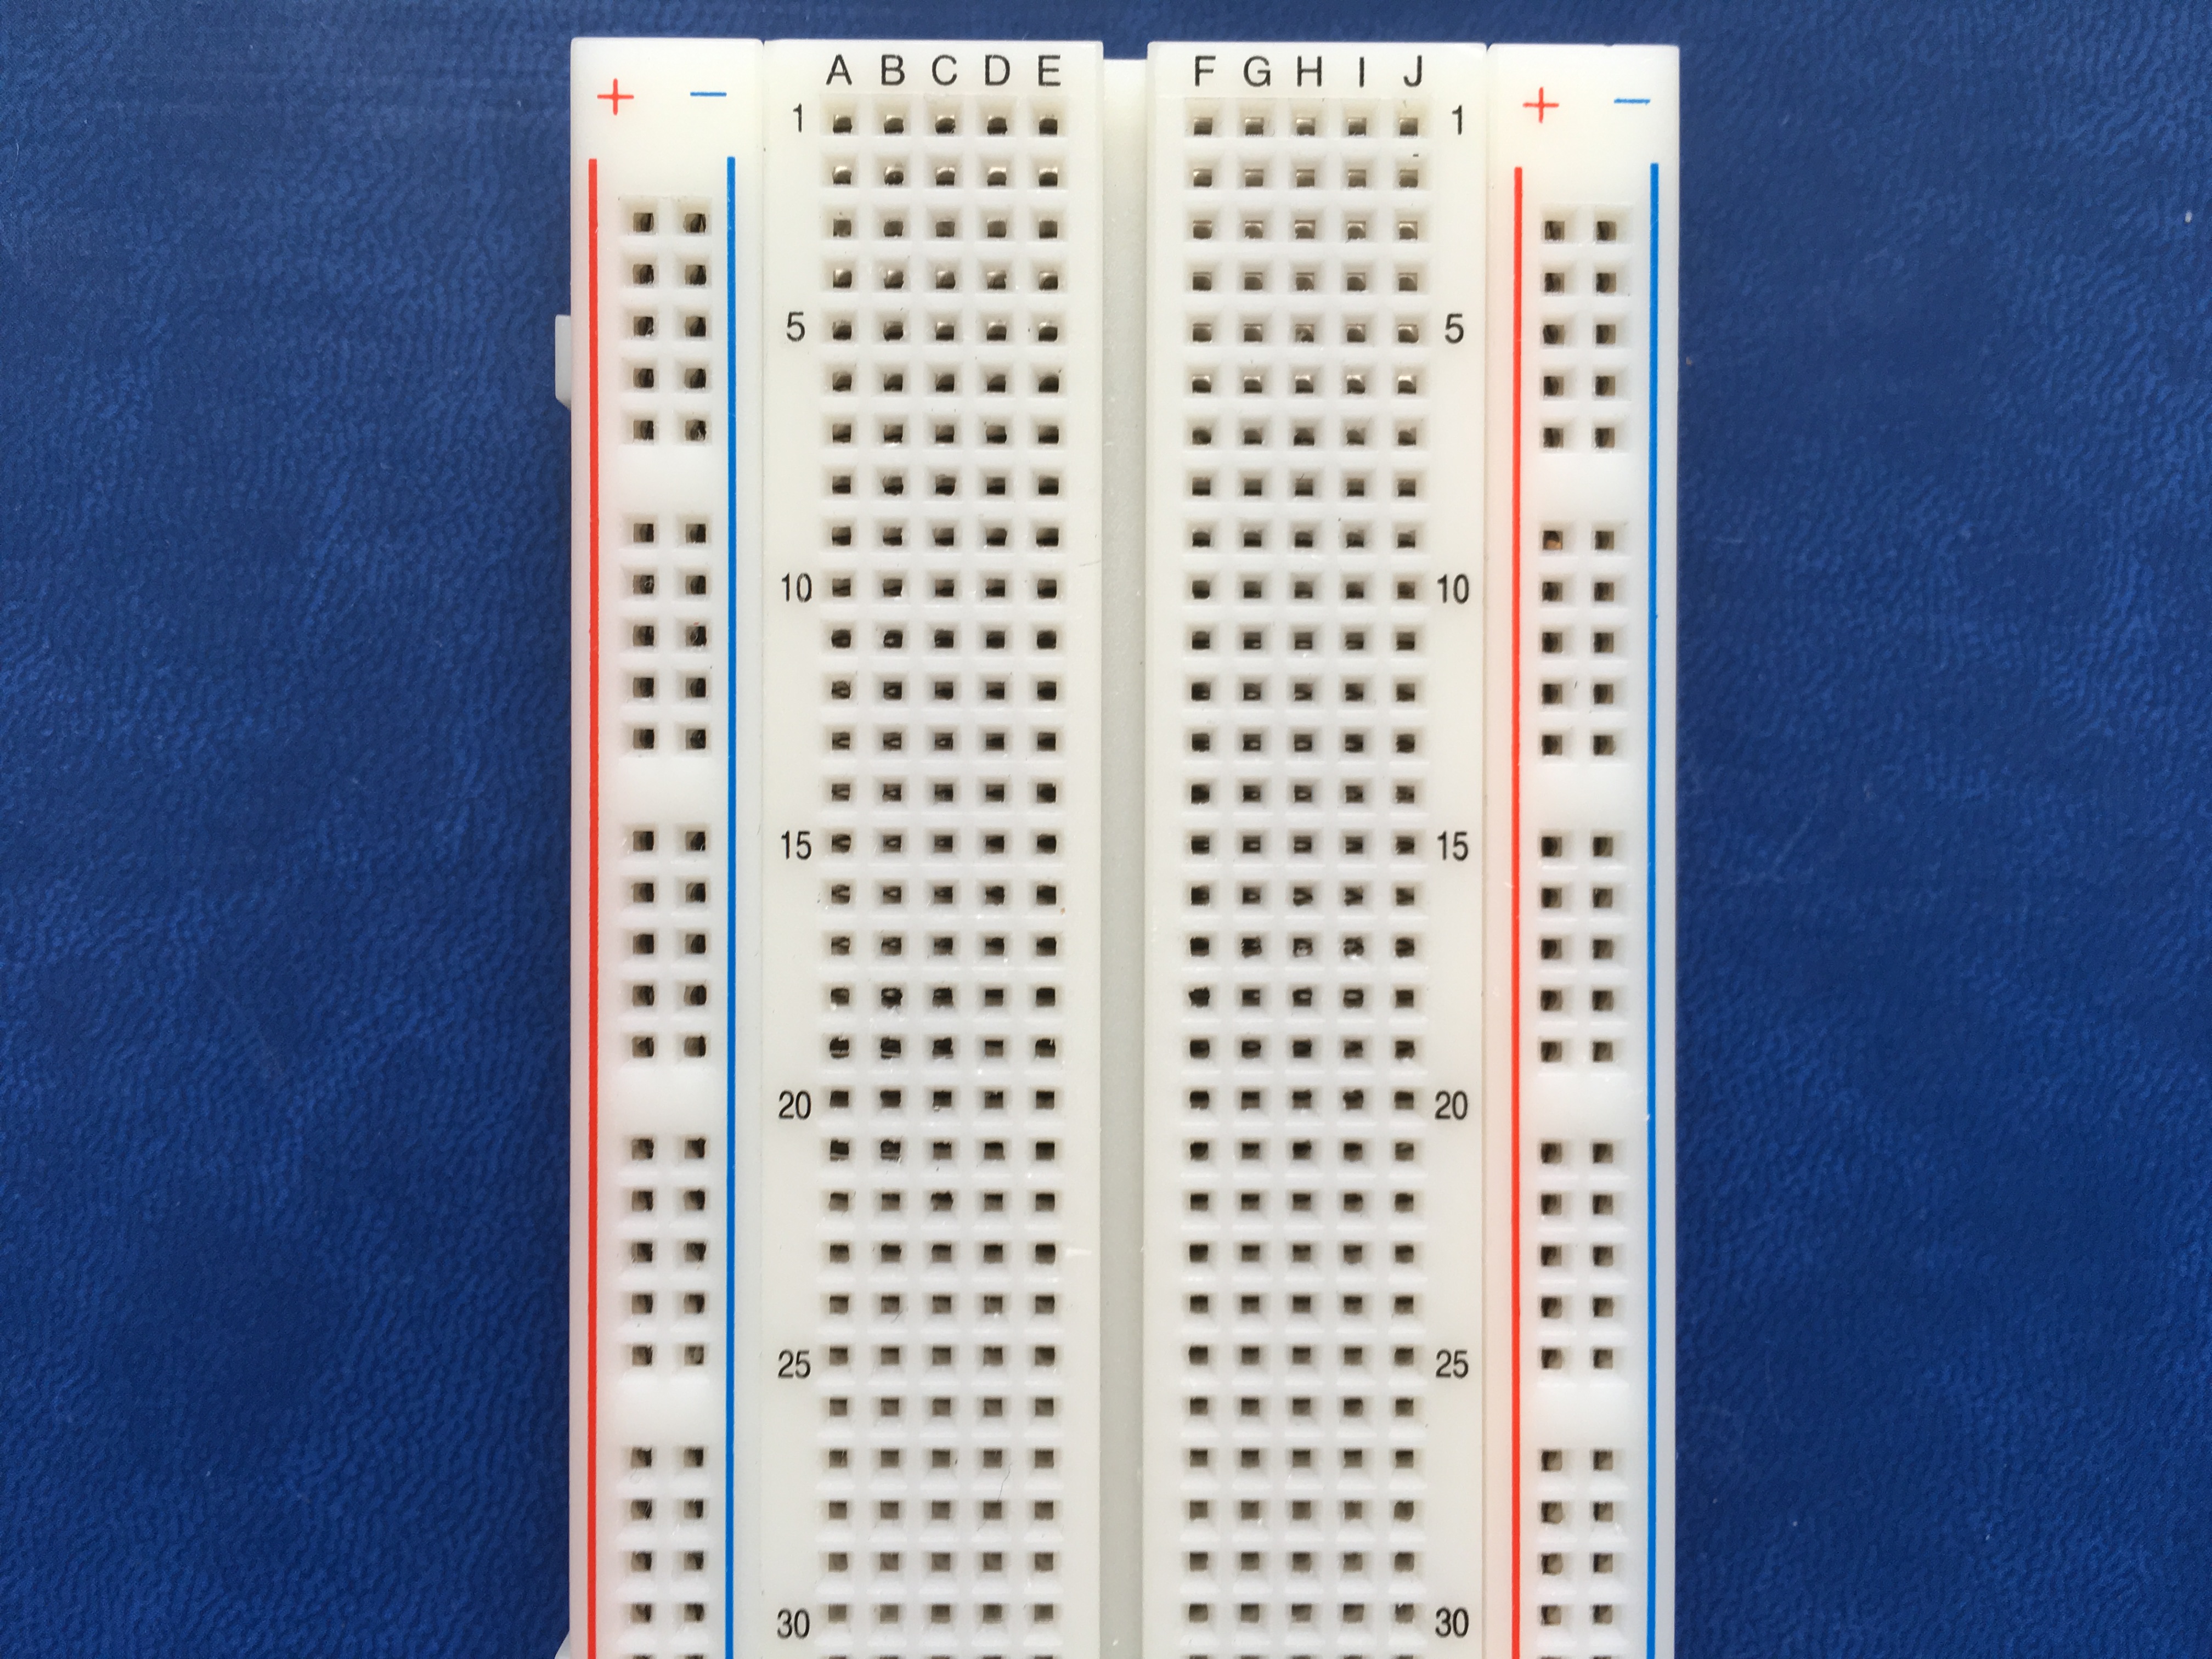
- 1 x Breadboard
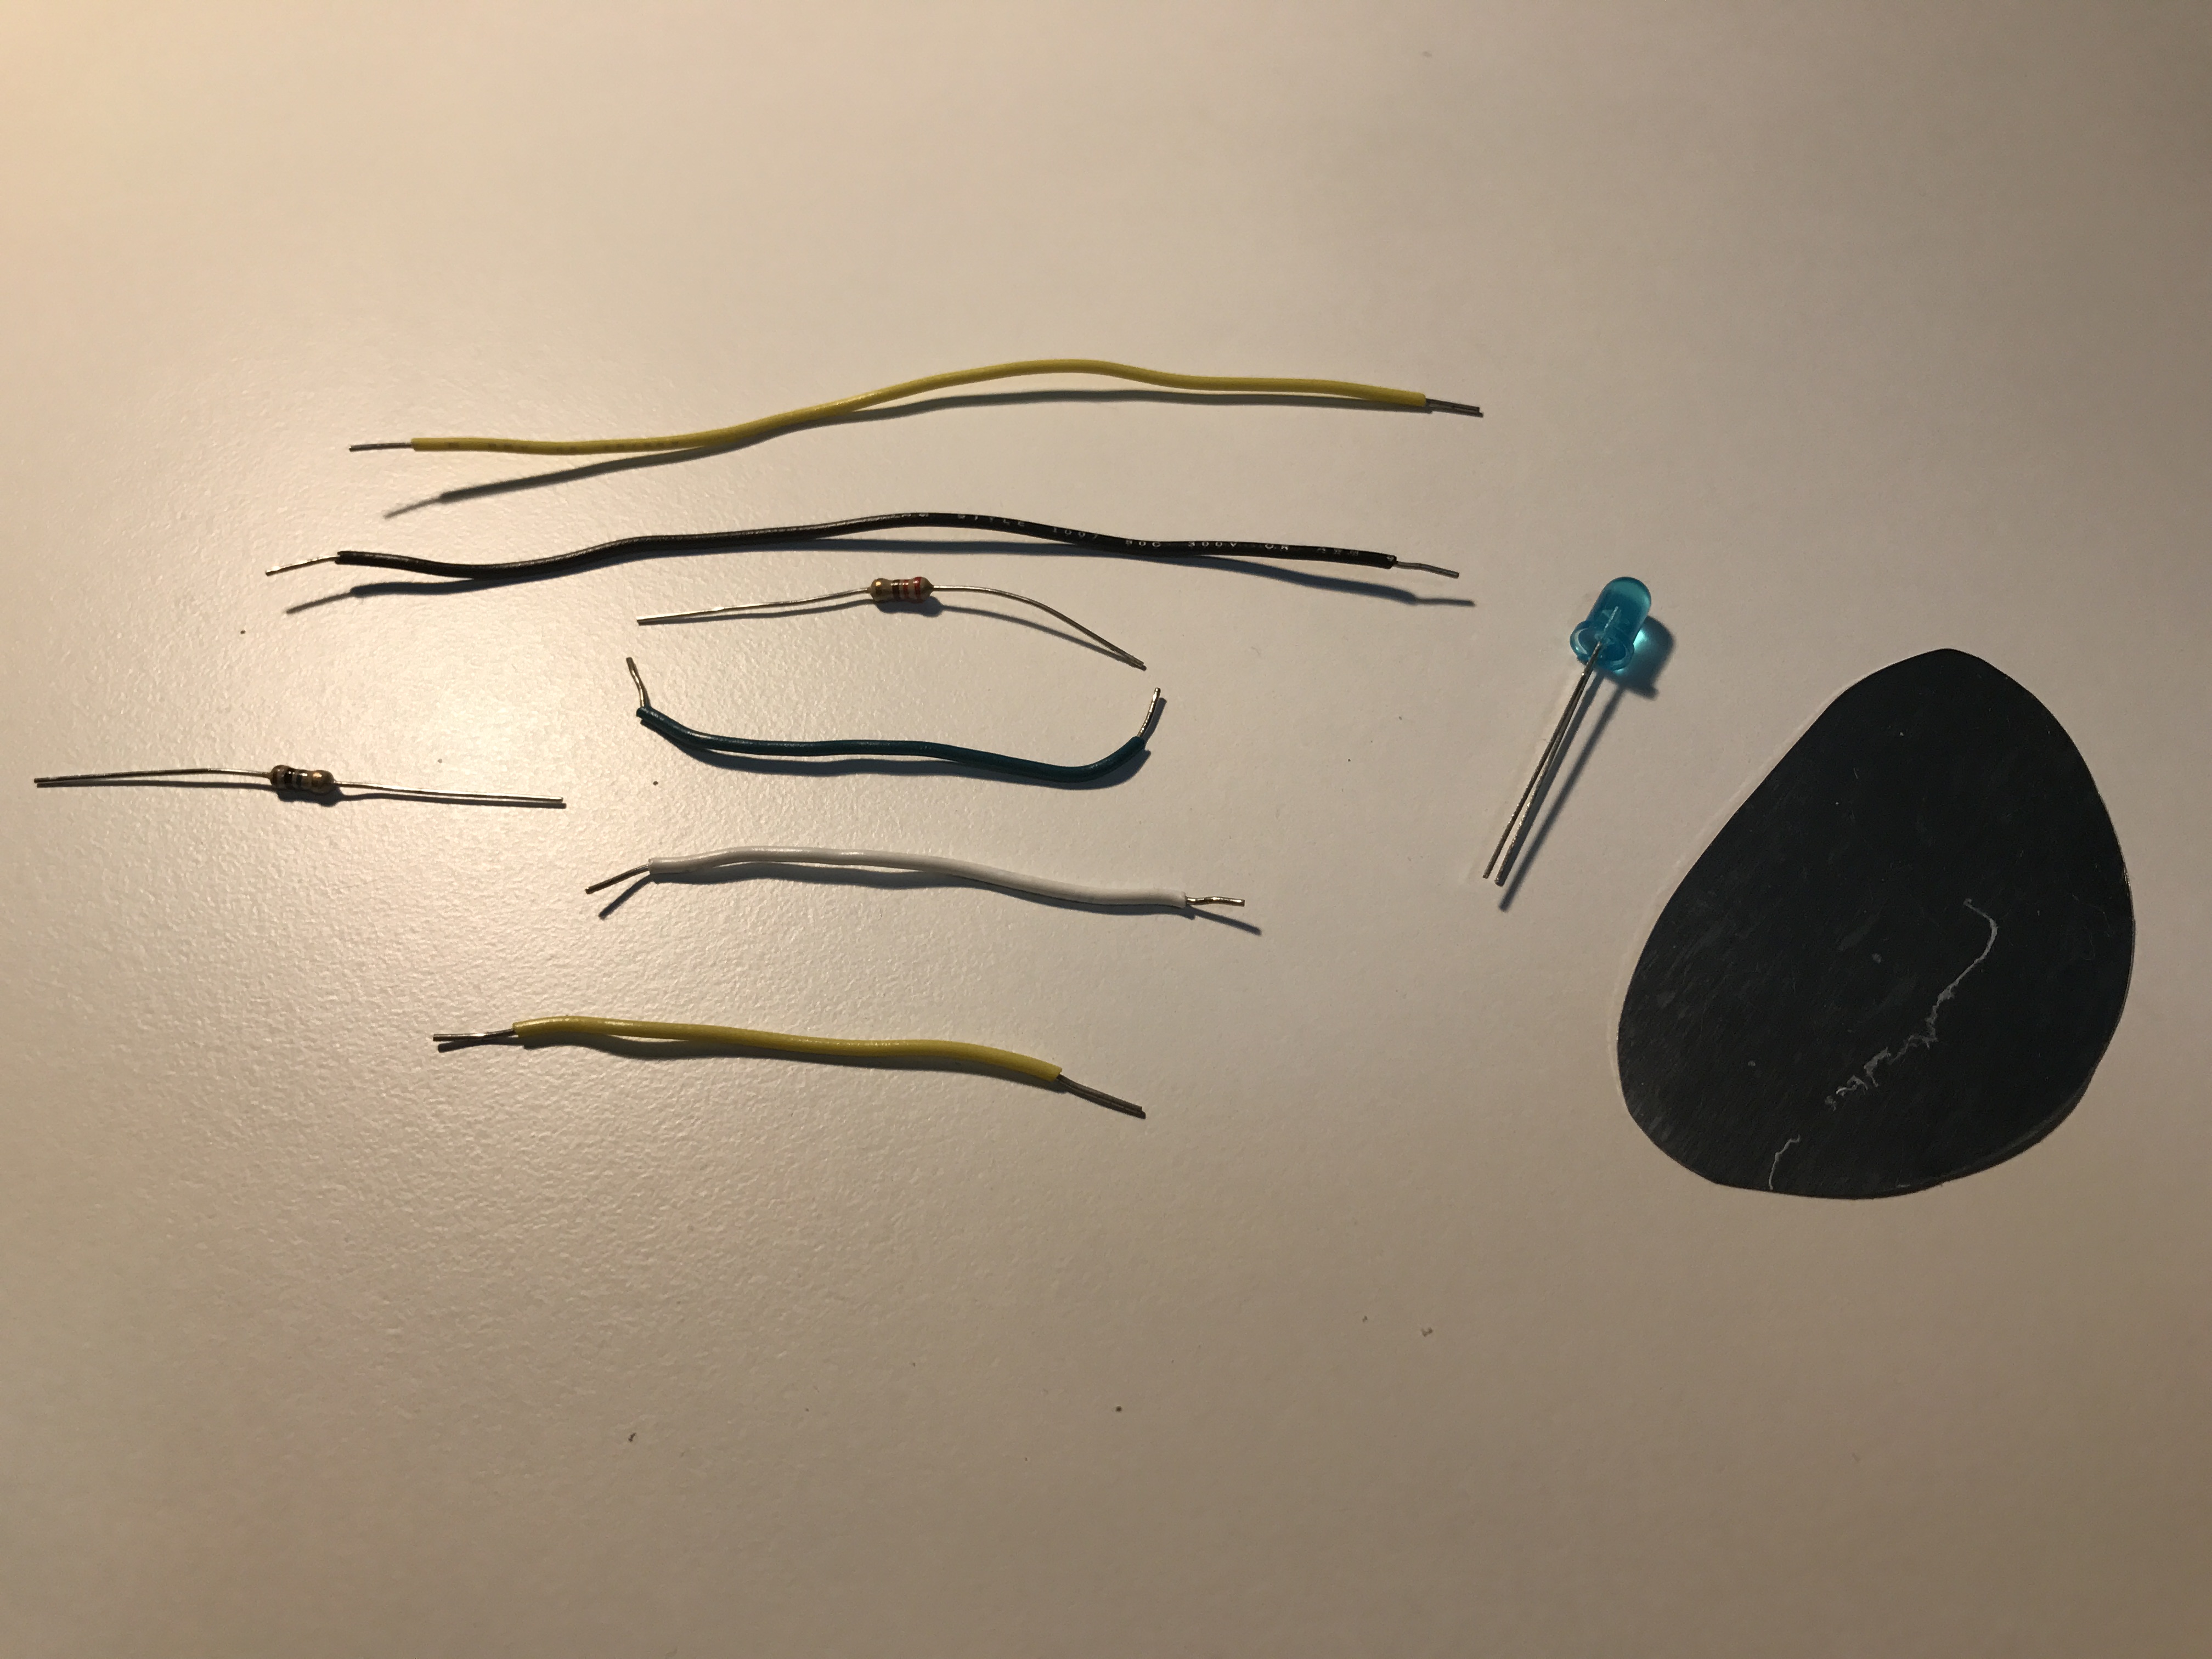
- 1 x 220-ohm resistor
- 1 x 1-megaohm resistor
- 1 x LED
- 1 x piece of conductive material. I cut one out of a Pringle can.
- 5 x jumper wires
CAPACITIVE SENSOR:
The capacitive method toggles the send pin to a new state and then waits for the receive pin to reach the same state as the sending pin. This method has a while() loop with a variable incrementing inside to count the time it takes to wait for that instance. A medium - high value (10 kilohm - 50 megaohm) resistor must be included between the send pin and the receive pin. Finally, since the latter is the sensor terminal, the piece of conductive material, such as a tin foil, must connect to the receive pin.
Mathematically, the delay between the send pin changing and the receive pin changing is determined by an RC time constant, defined by R * C. In Physics, it’s called the time it takes to charge a capacitor.
Different resistor values affect the sensor proximity. The higher resistance means the higher sensitivity.
- 1-megaohm resistors for absolute touch
- 10-megaohm resistors for 4-6 inches away
- 40-megaohm resistors for 12-24 inches away
Conversely, high sensitivity causes slow speed. Sometimes, the receive pin will never be able to reach the same state as the send pin, and the method will timeout.
CIRCUIT LAYOUT:
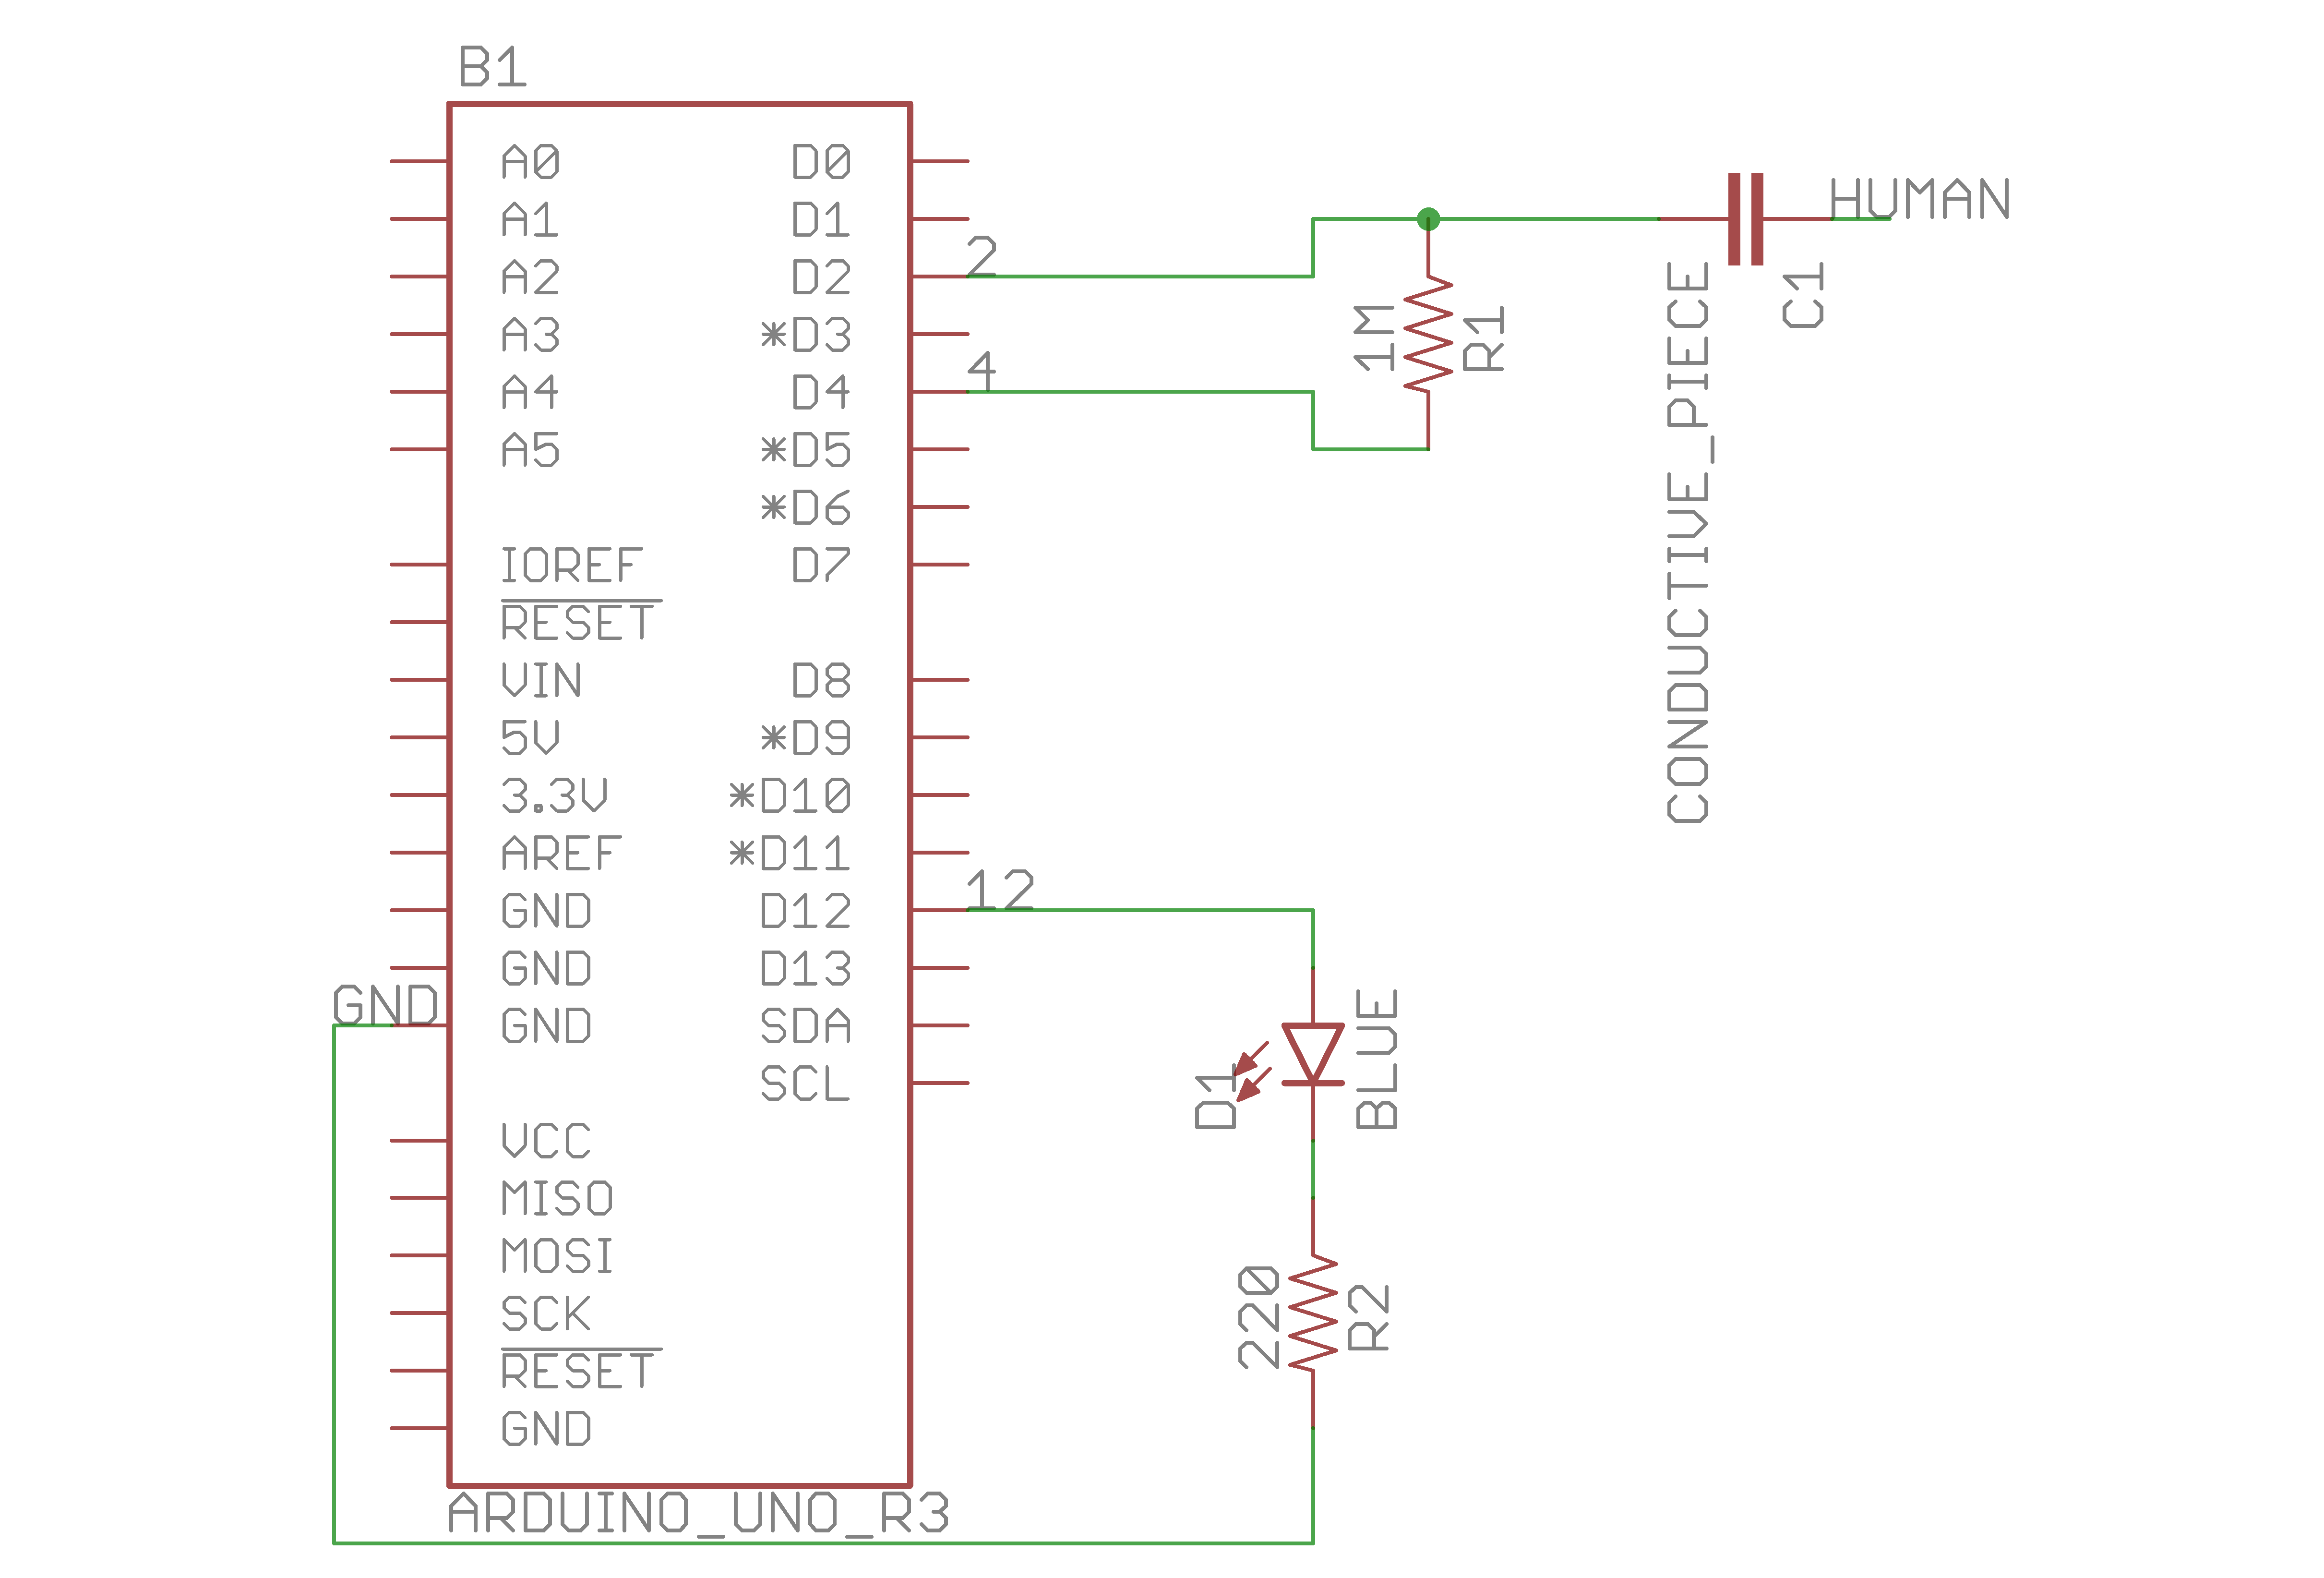
The output, i.e. the LED, will be connected to a digital pin as usual. The input, however, will be connected to two digital pins. To be easy to address, I connected the LED to pin 12 and the input to pins 2 and 4.
Here is my schematic:
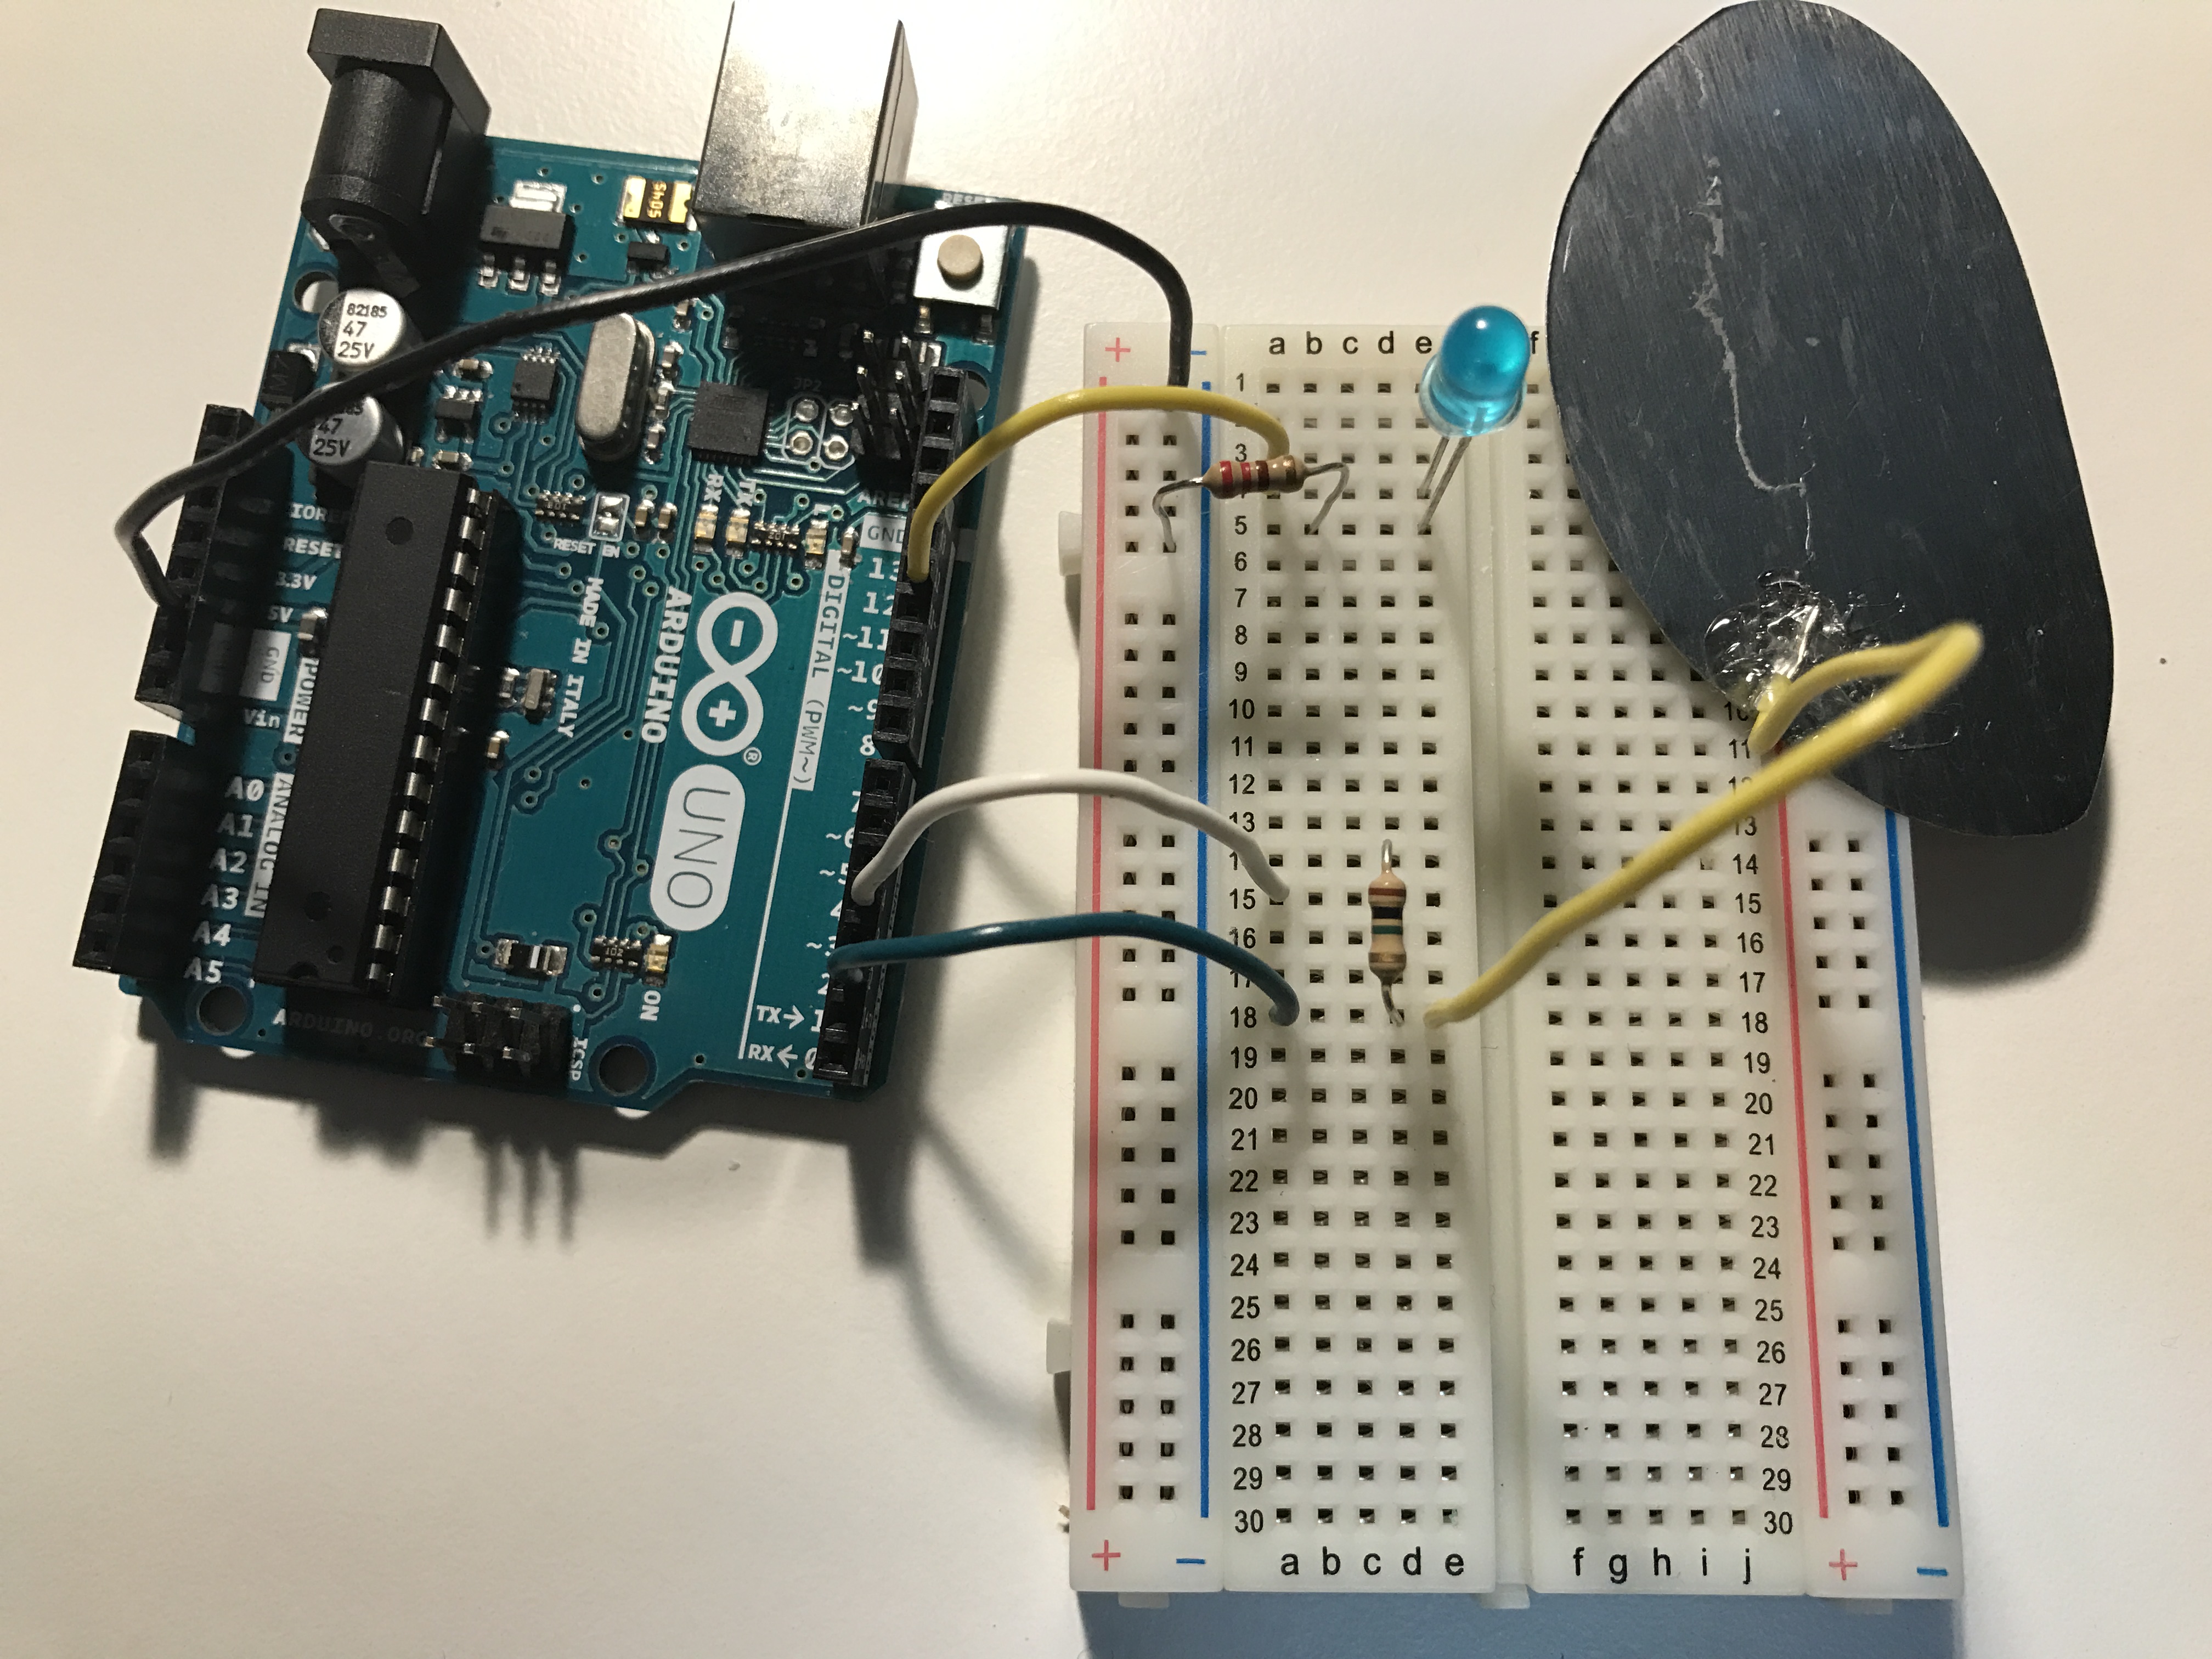
And this is my breadboard layout:
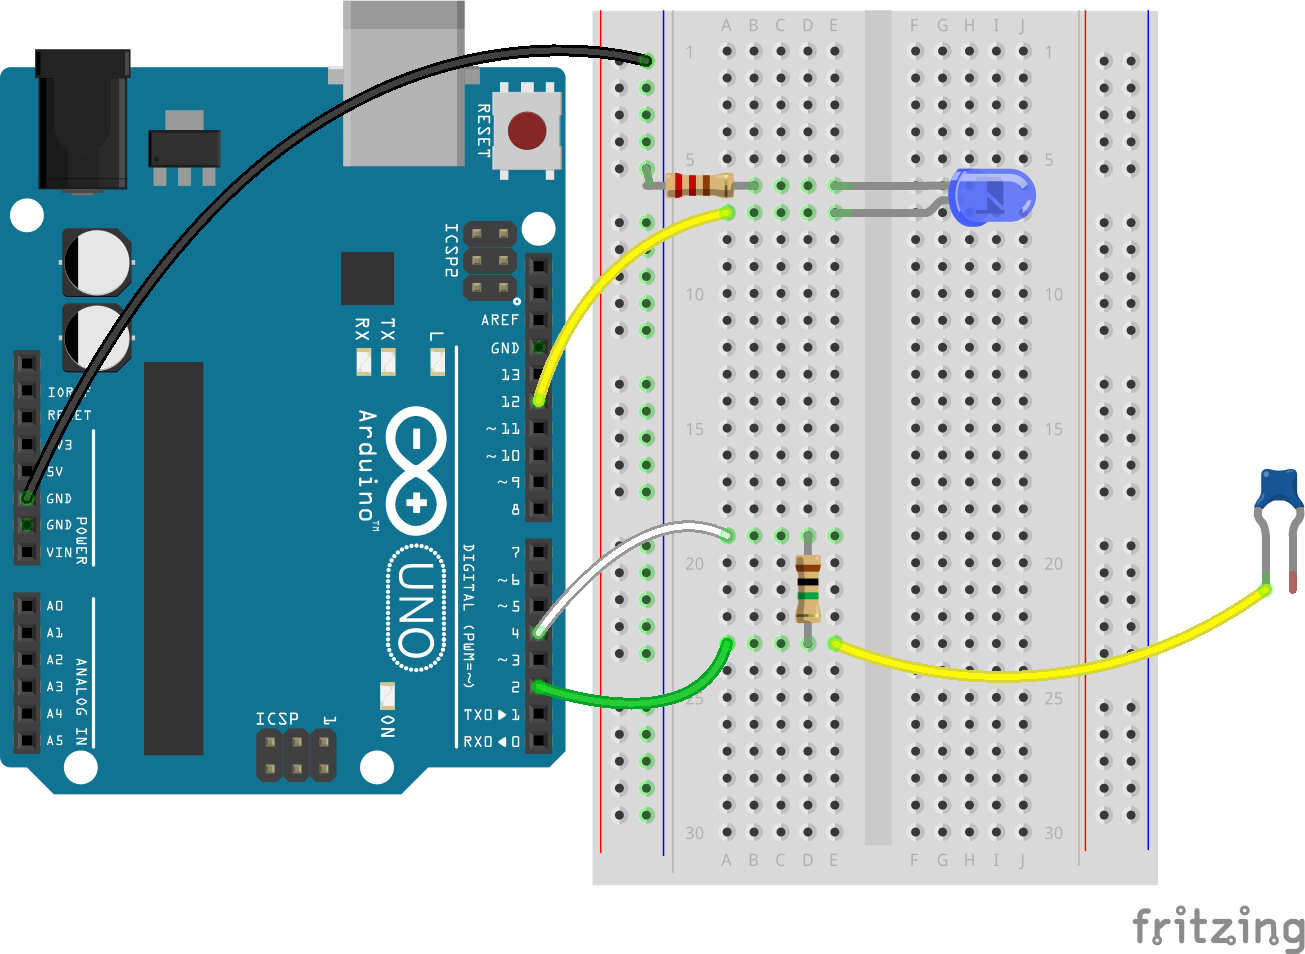
See below for the circuit.
CODE:
The code for this project is quite simple. Like the book, I used an LED to indicate that the capacitance had surpassed the threshold. Because people have different capacitances in their bodies, we should print the capacitance on the serial monitor first and then change it to a suitable number.
The author, Paul Badger, makes things easier for us in the CapcitiveSensor.h library. We only need to #include the library, set the send and receive pins, name the instance (in this case, CapSensor), and then write CapSensor.capacitiveSensor(number_of_samples). I suggest that number_of_samples should be 30. If there are too few samples, the sensor will not capture the intermediate changes; if there are too many samples, the sensor will fatigue and will cause lag.
Here is the code:
1
2
3
4
5
6
7
8
9
10
11
12
13
14
15
16
17
18
19
20
21
22
23
24
25
26
27
28
29
30
31
32
33
34
35
36
37
38
39
40
41
42
43
44
45
46
47
48
49
50
/**
 * Project Name: Arduino Projects Book - Project 13: Touchy-feely Lamp
 *
 * File Name: touchy_feely_lamp.ino
 *
 * Description: Uses the capacitance of your body to turn an LED on/off
 * when you touch a piece of conductive material.
 *
 * Author: Zhengqi Dong
 * Location:
 * Created: December 18, 2016
 * Updated: June 22, 2017
 */

#include CapacitiveSensor.h

// Required hardware I/O connections
const byte RECEIVING_PIN = 2;  // capacitance receiving pin connected to 2
const byte SENDING_PIN   = 4;  // capacitance sending pin connected to 4
const byte LED_PIN       = 12; // indicator LED pin connected to 12

// CapSensor class
CapacitiveSensor CapSensor = CapacitiveSensor(SENDING_PIN, RECEIVING_PIN);

// Global constants
const int THRESHOLD            = 45; // different people may have different values
const unsigned short BAUD_RATE = 9600;

void setup() {
    Serial.begin(BAUD_RATE);
    pinMode(LED_PIN, OUTPUT);
}

void loop() {
    // read 30 samples at a time
    int sensor_val = CapSensor.capacitiveSensor(30);

    Serial.print("Sensor value: ");
    Serial.println(sensor_val);

    // turn on the LED if the capacitance is over the THRESHOLD
    if (sensor_val > THRESHOLD) {
        digitalWrite(LED_PIN, HIGH);
    } else {
        digitalWrite(LED_PIN, LOW);
    }

    // delay helps stabilize the sensor
    delay(10);
}
